17 min read
You found a lecture, a live set, or a rare track on YouTube and you want the sound as a clean audio file. A WAV file is the format editors, DJs, and podcasters reach for when they need audio they can cut, mix, and re-export without piling on extra compression damage.
This guide covers five free ways to get that file, from a quick browser tool to a command-line downloader that handles whole playlists — plus the quality and legal facts converter sites leave out.
In this guide
- What Is a WAV File, and Why Convert to It?
- The Quality Truth Nobody Tells You
- Is Converting YouTube to WAV Legal?
- Method 1: Use an Online Converter (Fastest, No Install)
- Method 2: Use VLC Media Player (Free Desktop Option)
- Method 3: Use Audacity (Best for Editing Afterward)
- Method 4: Use yt-dlp (Best for Playlists and Power Users)
- Method 5: Get Your Own Uploads from YouTube Studio
- WAV vs MP3 vs FLAC: Which Format Should You Pick?
- How to Check Your WAV File After Converting
- Common Problems and Fixes
- The Bottom Line
- Frequently Asked Questions
What Is a WAV File, and Why Convert to It?
WAV stands for Waveform Audio File Format. It was developed by Microsoft and IBM in the early 1990s, and it stores sound as raw, uncompressed PCM audio. Every sample the recorder captured is written to the file exactly as it was captured, with nothing thrown away.
That makes WAV the working format of studios, video editors, and podcast producers: every cut, normalise, and re-export starts from the full signal, while a compressed format loses a little more quality each time.
People usually want a WAV version of a YouTube video for a few practical reasons:
- Editing a clip into a podcast, video, or remix without extra quality loss
- Sampling a sound, a speech, or a lecture for a project
- Archiving audio in the highest quality the source allows
The trade-off is size. CD-quality WAV audio runs about 10 MB per minute, so a three-minute song lands around 30 MB and an hour-long lecture can pass 600 MB. Before you start building a library of large audio files, check how much phone storage you actually need so a folder of WAV masters does not catch you by surprise.
The Quality Truth Nobody Tells You
Here is the fact most converter sites leave out: converting a YouTube video to WAV does not give you studio-quality audio. YouTube serves audio as a compressed AAC stream at up to 256 kbps. A WAV file made from that stream is a perfect copy of already-compressed audio, not a restoration of the original recording.
Think of it like photocopying a photo. A perfect photocopy keeps every detail of the print you copied, but it cannot bring back detail that was never in the print. The WAV wrapper preserves the YouTube audio exactly as streamed, with no further loss — useful for editing, since every later export starts from the best available copy, but it cannot add back frequencies YouTube already removed.
So when a site promises “320 kbps WAV” or “studio quality” from a YouTube link, it is misleading you — the source audio never carried that much data. Pick a tool for speed, safety, and convenience, not for a quality boost that does not exist.
Is Converting YouTube to WAV Legal?
The short answer is that it depends on what you download and what you do with it. YouTube’s Terms of Service forbid downloading content except as the service expressly authorises, or with prior written permission from YouTube and the rights holders. Third-party downloaders and converter sites fall outside those exceptions for most videos.
That is a breach of YouTube’s contract with you as a user, and YouTube can suspend or terminate an account for violating it.
The safest uses are the clear ones:
- Your own videos, downloaded from your own channel
- Videos released under a Creative Commons licence that allows reuse
- Public domain material, where copyright has expired
- Short excerpts used for criticism, commentary, teaching, or research, where your country’s fair use or fair dealing rules apply
What to avoid is just as clear. Do not re-upload someone else’s audio, do not sell it, do not use a full copyrighted track as background music in a monetised video, and do not share downloaded files with other people. The practical risk for a single personal download is low, but the rules are real, and creators deserve to be paid for their work.
YouTube Premium is the one fully legitimate route inside YouTube itself: it lets you download videos for offline viewing inside the app, but those downloads stay encrypted, cannot be exported as WAV files, and expire after around 29 days offline.
Method 1: Use an Online Converter (Fastest, No Install)
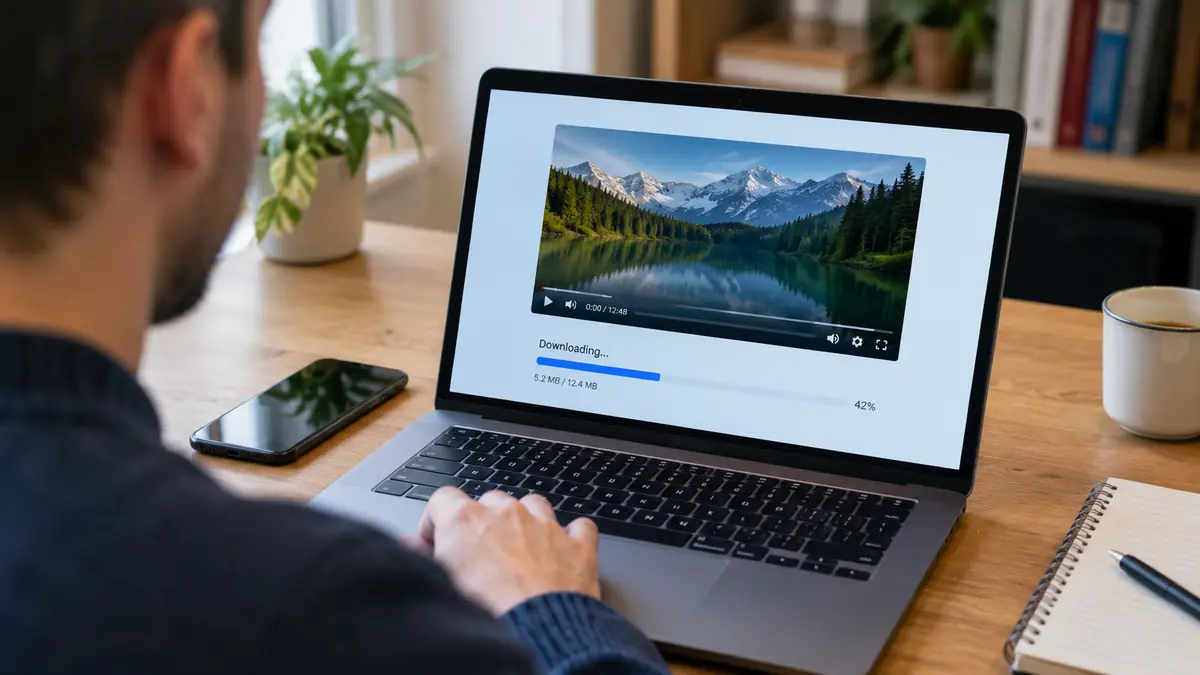
An online converter is the quickest route when you need one file and you do not want to install anything. You paste a link, pick WAV, and download the result. The whole job takes a couple of minutes for a short video, and it is the simplest YouTube WAV method for a first-timer.
How to do it
- Open the YouTube video and copy its URL from the address bar.
- Open a reputable online converter in your browser.
- Paste the link into the converter’s input box.
- Select WAV as the output format.
- Click convert, wait for the process to finish, then download the file.
Picking a safe converter
Free converter sites pay their bills with ads, and some of those ads are designed to look like download buttons. Stick to converters that other tech sites have tested and reviewed, and never install a browser extension or a “downloader app” that a converter page pushes on you. A real converter works in the browser and asks for nothing but the link.
Watch out for these warning signs: a page covered in fake download buttons and pop-ups, a tool that demands an account or payment details for a “free” conversion, a site that claims higher quality than the YouTube source, or a download that arrives as an .exe file instead of a .wav file. A legitimate audio download never ends in .exe.
Hour-long lectures convert slowly in a browser, so for long videos use a desktop tool from the methods below. Before a big batch, it also helps to know what eats up your phone storage so a folder full of WAV files does not catch you by surprise.
Method 2: Use VLC Media Player (Free Desktop Option)
VLC is a free, open-source media player that runs on Windows, macOS, and Linux, and most people already have it installed. It also has a built-in converter that can pull the audio out of a video file and save it as WAV.
This method works on a video file already on your computer — grab the file with a download method first, then run it through VLC.
How to do it
- Open VLC Media Player.
- Go to Media > Convert/Save (on macOS, use File > Convert/Stream).
- Click Add and choose your video file, then click Convert/Save.
- In the Profile dropdown, choose Audio – WAV.
- Click Browse to set a destination file name ending in .wav.
- Click Start and wait for the conversion to finish.
VLC’s WAV output is 16-bit audio — standard CD quality, and plenty for editing. Conversion runs at roughly real time or faster.
VLC is the right pick when you want a free offline tool with no ads, no account, and no upload step. It is not the right pick for grabbing audio straight from a YouTube link, since newer YouTube streaming changes can make VLC’s built-in network fetching unreliable. For that job, yt-dlp in Method 4 is the stronger choice. If your drive is nearly full, clear storage on your phone or your computer first — a failed conversion halfway through wastes more time than the cleanup.
Method 3: Use Audacity (Best for Editing Afterward)
Audacity is a free, open-source audio editor for Windows, Mac, and Linux, and the best option here when you plan to trim, clean up, or mix the audio after converting it — you can see the waveform and fix problems before you export.
How to do it
- Install Audacity from its official site, and install the optional FFmpeg library if Audacity asks for it to read video files.
- Open Audacity and go to File > Import > Audio, then select your video or audio file.
- Wait for the waveform to load. Only the audio track appears.
- Trim silence, cut mistakes, or normalise the volume if you want to.
- Go to File > Export > Export as WAV.
- Keep the default 44.1 kHz, 16-bit settings unless your project needs something else, then save.
The default export settings match CD quality, which most editors and podcast hosts expect. Exporting at higher sample rates only adds file size on a YouTube source, for the reason covered in the quality section above.
Audacity earns its place when the audio needs work. A lecture with long pauses, a live recording with crowd noise at the start, or a clip that needs its volume levelled will all come out better after a few minutes in the editor than they would from a straight conversion. If the audio sounds thin or muffled, check your playback gear first — our guide to fix a phone microphone helps you rule out hardware before blaming the file.
Method 4: Use yt-dlp (Best for Playlists and Power Users)
yt-dlp is a free, open-source command-line downloader, a fork of youtube-dl, and the most reliable tool here for grabbing audio directly from YouTube — the only one that handles whole playlists and channels in a single command.
How to do it
- Install yt-dlp from its official GitHub releases page, and install FFmpeg alongside it. FFmpeg handles the audio extraction and format conversion.
- Open a terminal or command prompt.
- Run this command, replacing the link with your video URL:
yt-dlp -x --audio-format wav "https://www.youtube.com/watch?v=VIDEO_ID" - The
-xflag extracts audio only, and--audio-format wavsaves it as a WAV file in your current folder. - For a whole playlist, paste the playlist URL instead of a single video URL.
The command line puts some people off, but the payoff is real. There are no ads, no pop-ups, no fake download buttons, and no file-size limits. The tool pulls the best available audio stream directly, with no re-encoding unless you ask for it, and it keeps working when converter sites break after a YouTube change.
Useful variations: swap wav for mp3 for a much smaller file, or flac for a lossless file at roughly half the size of WAV, and add --embed-metadata to write the title and uploader into the file.
Method 5: Get Your Own Uploads from YouTube Studio
If the video is yours, you do not need any third-party tool at all. YouTube Studio lets creators download their own uploads, and this is one of the two download routes YouTube itself authorises.
How to do it
- Sign in to YouTube Studio.
- Go to Content in the left menu.
- Hover over the video you want and click the three-dot menu.
- Choose Download.
- YouTube gives you the video file, which you can then convert to WAV with VLC or Audacity from Methods 2 and 3.
There are limits: up to five downloads of the same video within 24 hours, and no download if the video was removed, has a copyright strike, or uses a pre-approved audio track. The file you get is the video as YouTube stored it, so the quality rules above still apply.
WAV vs MP3 vs FLAC: Which Format Should You Pick?
WAV is not always the right answer. It is the best format for editing, but it is the worst for sharing, streaming, or storing a large library. The table below lays out the trade-off in plain terms.
| Format | Compression | Quality | File size (3-min song) | Best for |
|---|---|---|---|---|
| WAV | None (uncompressed) | Full source quality | Around 30 MB | Editing, mixing, mastering |
| FLAC | Lossless compression | Full source quality | Around 15 MB | Archiving a music library |
| MP3 (320 kbps) | Lossy compression | Near-identical to source for most listeners | Around 7 MB | Sharing, phones, everyday listening |
| AAC (256 kbps) | Lossy compression | Very good, the format YouTube uses | Around 6 MB | Phones, streaming, small files |
The practical rule: edit in WAV, archive in FLAC, share in MP3. Once the edit is done, export as MP3 or AAC — nobody can hear the difference on earbuds or a car stereo, and the file is a fifth of the size.
File sizes also decide where your audio lives: a phone full of WAV lectures fills up fast, which is why so many people end up searching for why your phone storage stays full after deleting files. Keep masters on your computer, and only MP3 copies on your phone.
How to Check Your WAV File After Converting
A conversion is only done when you have checked the file. A quick check now saves you from discovering a silent or truncated file halfway through an edit.
- Play the first ten seconds and the last ten seconds. Truncated downloads usually cut off at the end.
- Check the file size. A three-minute WAV should be roughly 30 MB. A file of a few hundred kilobytes is almost certainly a failed download with a .wav name.
- Open the file in Audacity or VLC and look at the waveform or the track length. A flat line means silence, and a length far shorter than the video means the conversion stopped early.
If the file fails any check, delete it and convert again — a second attempt usually works. When a phone is your listening device, it helps to know how much data streaming uses so you can tell a slow download from a broken one.
Common Problems and Fixes
The converter says the video is unavailable
Private videos, age-restricted videos, and region-blocked videos cannot be converted by online tools, and most desktop tools will fail on them too. If it is your own video, use YouTube Studio. If it is someone else’s, you need their permission and a different source, not a different converter.
The audio sounds worse than the video
Check the obvious first: your playback volume, your headphones, and whether the converter exported at a low sample rate. The audio cannot sound better than the YouTube source, but it should not sound worse either — a bad result usually means the converter re-encoded at low quality, so try yt-dlp or Audacity instead.
My phone ran out of space mid-download
WAV files are big, and a nearly full phone will stop a download halfway. Freeing space first is the fix — our walkthrough on how to get more storage on your phone covers the quick wins.
The Bottom Line
Converting a YouTube video to WAV is a two-minute job once you know which tool fits your situation. Use an online converter for a single quick file, VLC or Audacity when you already have the video and want a free offline route, yt-dlp when you need playlists and reliability, and YouTube Studio when the video is yours.
Keep the quality fact in mind and the choice gets easy: the WAV file preserves the YouTube audio exactly as streamed, so it is ideal for editing — and it cannot improve on the source, so never pay for a tool that promises better sound. Pick the free method that matches your comfort level, check the file, and respect the creator’s rights.
The same habits apply elsewhere: keep masters on a computer, keep small copies on your phone, and test your gear before blaming a file. Our guide to resetting your AirPods is a good next stop when playback itself sounds wrong.
The hidden iPhone features roundup shows what else your phone can do once the audio is sorted.
Frequently Asked Questions
Is it free to convert YouTube to WAV?
Yes. Every method in this guide is free: online converters cost nothing, VLC and Audacity are free open-source programs, and yt-dlp is free as well. Some desktop apps limit formats or daily downloads on their free tier, so check before a big batch.
Does converting YouTube to WAV improve the sound quality?
No. YouTube audio tops out at 256 kbps AAC, which is already compressed. A WAV file preserves that audio without further loss, which is useful for editing, but it cannot restore detail YouTube removed.
What is the best free YouTube WAV tool?
For a single quick file, a reputable online converter is fastest. For regular use, yt-dlp is the most reliable free option because it pulls the best available audio stream directly, handles playlists, and has no ads. Audacity is the best pick if you also want to edit the audio before exporting.
Can I convert YouTube to WAV on my phone?
You can, using a mobile browser converter, but it is not ideal: WAV files are large, phones have limited storage, and converter sites are harder to use safely on a small screen. Converting on a computer is usually faster and safer. Before a big download, check how to check data usage on an iPhone so a large file does not eat your mobile data.
Is it legal to download audio from YouTube?
YouTube’s Terms of Service forbid downloading except through its own features, such as Premium offline viewing or YouTube Studio downloads of your own uploads, or with written permission from YouTube and the rights holders. Downloading your own videos, Creative Commons-licensed videos, and public domain material is safe. Copying copyrighted music without permission, and re-uploading or selling it, is not.
Written by Saad Dharejah, Founder & Editor at CripsyWire. View All Articles
Facts checked on 10 November 2026. This guide was made by testing the documented steps for VLC, Audacity, yt-dlp and YouTube Studio against their official instructions and independent converter reviews, and by checking the legal and quality claims against YouTube’s Terms of Service and audio-format references found through web search.

Continue Reading on CripsyWire
For more practical tutorials and hidden features, see our full how-to guides section. AI workflow guides feed into the broader AI tools and agents coverage, phone tricks live in smartphones, and wearable setup walkthroughs in wearables. When you are deciding what to buy, the reviews and comparisons section helps. All part of CripsyWire Tech, and the homepage shows what is newest.